Back to Blogs
Products
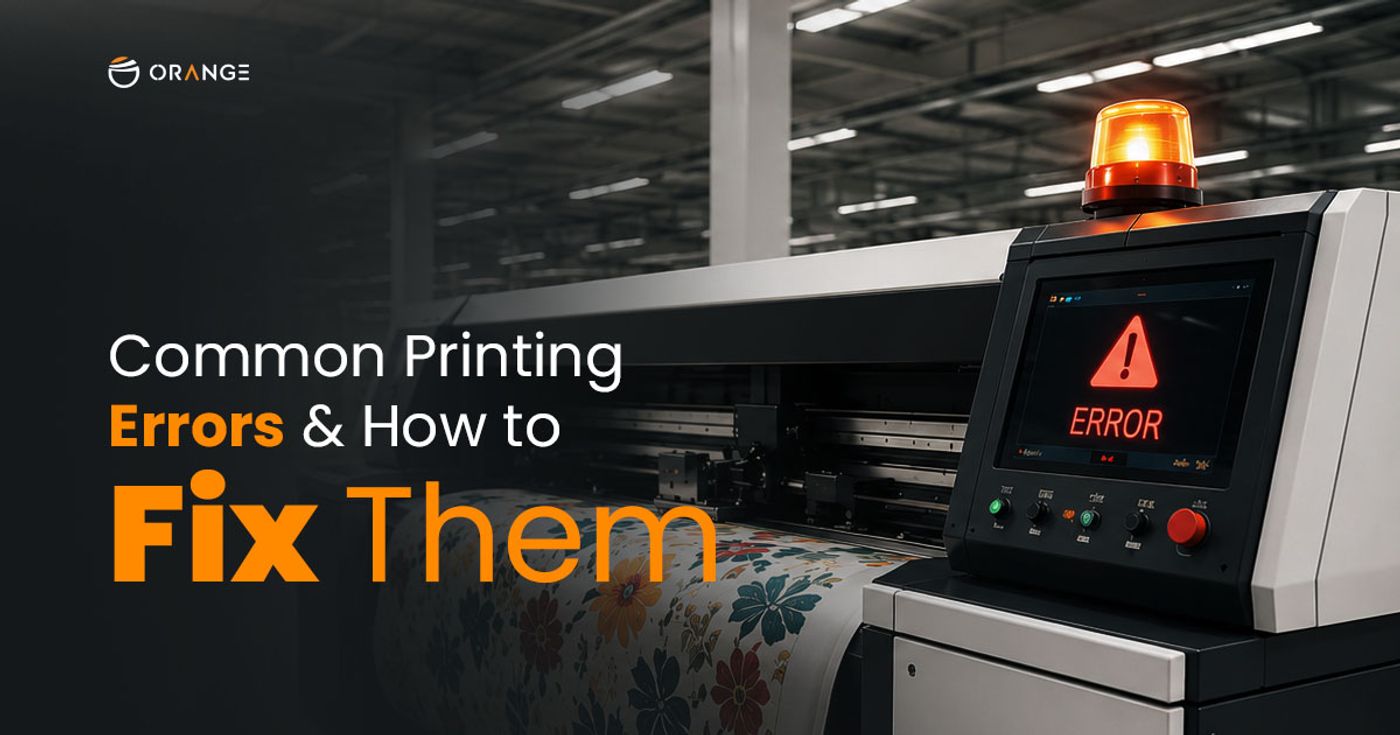
Common Printing Errors and How to Fix Them
Discover the most common printing errors in digital textile production, from ink bleeding to colour mismatch and learn exactly how to fix them to reduce reprints and protect your margins.
Orange O Tec
12 Aug 2026 • 5 min read
A print defect doesn’t just ruin a metre of fabric. It costs you a buyer’s trust, a deadline, and a margin you cannot afford to lose.
In a high-volume digital textile printing operation, even a 5% defect rate translates into thousands of metres of wasted fabric and hours of rework every month. The frustrating truth is that most of these defects are preventable not by investing in a new machine, but by understanding what’s going wrong at each stage of the process.
This guide covers the most common printing errors and solutions across digital fabric printing operations, from colour mismatch and ink bleeding to misalignment and printhead clogging. For each defect, we’ll walk through the root cause and the most direct fix. Whether you run an industrial sublimation setup, a reactive ink line, or a direct-to-fabric operation, these troubleshooting principles apply across the board.
1. Ink Bleeding: When Your Design Loses Its Edge
Ink bleeding is one of the most common errors in printing and one of the most visible. It shows up as blurred edges, smeared outlines, or colours bleeding into adjacent areas of the design. On a fine-line print or a detailed logo, even a millimetre of bleed destroys the result.
Causes
- Incorrect print settings for the substrate being used
- Insufficient drying or curing time between passes
- Using an ink formulation incompatible with the fabric type
- Excessive ink density or saturation for absorbent materials
How to fix it
Start by matching your ink density settings to the specific substrate. Absorbent natural fibres like cotton require lower ink saturation than synthetics. Ensure adequate drying time is programmed between print passes; rushing through this stage is the single most common cause of bleed. If the issue persists, review your ink compatibility: reactive inks are best suited to natural fibres, while disperse inks are designed for polyester. Mixing them is a recipe for bleed.
Using in-house R&D inks formulated specifically for each fabric category, like Syahi’s reactive, pigment, and sublimation ranges, eliminates a large share of ink-fabric compatibility errors. When ink chemistry is developed alongside the machines running it, the tolerance for these mismatches narrows significantly.
2. Colour Mismatch: What You See Is Not What You Get
Colour inaccuracy in printing is one of the most frustrating textile printing defects because it often isn’t visible until the job is already done. A design approved on screen arrives as a completely different shade on fabric, and the buyer sends it back.
Causes
- Design files built in RGB colour mode instead of CMYK
- Incorrect or missing ICC colour profiles in the RIP software
- Printer not calibrated regularly against a known colour standard
- Out-of-gamut colours in the original design that the printer cannot reproduce
How to fix it
The first rule of colour management: always work in CMYK from the start. Designs created in RGB and converted late in the workflow lose colour accuracy during conversion. Load the correct ICC profile for your printer and substrate into your RIP software; this is non-negotiable for consistent output.
Before committing to a full production run, print a test swatch and compare it against your target under controlled lighting. If colours still drift, calibrate the printer against a colour reference target. Most professional RIP platforms have a built-in calibration workflow for this.
For out-of-gamut colours and shades that technically cannot be reproduced by your ink set, use your photo-editing software’s soft-proofing mode to identify and adjust problem areas before the file ever reaches the printer.
3. Printhead Clogging: The Silent Production Killer
A clogged printhead is responsible for approximately 30% of print downtime across digital fabric printing operations globally. It manifests as white streaks, banding, or missing nozzle lines across the print. Left unresolved, it escalates from a quality issue into a machine damage issue.
Causes
- Ink drying inside the nozzle chamber during idle periods
- Dust or lint accumulation from the fabric environment
- Using inks not certified for use with your printhead model
- Infrequent or skipped printhead maintenance cycles
How to fix it
Prevention is far less costly than repair. Set automated cleaning cycles to run at the start and end of every production shift. If the machine is idle for more than a few hours, run a manual purge before resuming printing. Store capping stations correctly when powering down to prevent ink from drying on the nozzle plate.
Always use manufacturer-recommended inks. With over 10,000 Kyocera printhead installations and 5,000+ Epson printhead installations, Orange O Tec’s service engineers see the same pattern repeatedly: premature printhead failure almost always traces back to incompatible third-party inks. Syahi inks are formulated and tested specifically for Kyocera and Epson I3200 printheads. This compatibility is not incidental; it is engineered.
4. Misalignment and Registration Errors
Misalignment, also called a misfit or registration error, occurs when colour layers or design elements do not land in the correct position relative to each other. On a multi-pass print, this results in ghosting, double outlines, or unprinted gaps between elements. On a repeat pattern, it breaks the continuity of the design.
Causes
- Printhead not properly calibrated to the fabric feed speed
- Fabric tension inconsistencies causing the substrate to shift during printing
- Incorrect screen positioning in rotary or flatbed screen printing setups
- Fabric shrinkage or distortion under heat exposure (common with natural fibres)
How to fix it
Run a print head alignment test after any major maintenance event or substrate change. For fabric tension, ensure feed rollers and tensioning systems are correctly set for the specific fabric weight and width. Natural fibres should be pre-treated or pre-washed before printing to account for shrinkage. A 3–5% shrink allowance in the design dimensions is standard practice.
For operations demanding the highest registration accuracy, intelligent visual positioning technology, as used in the Colorix Position Pro, eliminates manual alignment entirely. The machine reads the fabric position in real-time and adjusts print placement automatically, achieving consistent output at 105 metres per hour across reactive, acid, pigment, and disperse ink types.
5. Blurry or Low-Resolution Output
A blurry print is almost always a file problem, not a machine problem. The printer is doing exactly what it is told to do, reproducing a low-quality source file at high resolution. By the time the defect is visible on the fabric, the damage is already done.
Causes
- Source image resolution too low for the print dimensions (below 300 DPI at print size)
- Over-compressed JPEG files with visible artefacts
- Image scaled up beyond its native resolution in the design software
- Incorrect DPI settings in the RIP software relative to the print size
How to fix it
Enforce a strict file intake standard: a minimum of 300 DPI at actual print dimensions, exported as TIFF or PNG. JPEG is acceptable only for photographic content at high quality settings (90%+). Never accept files that have been upscaled; pixel interpolation does not recover lost resolution.
For print shops receiving customer files, build a pre-flight review step into your workflow. Review the file at 100% zoom at the intended print size before production begins. If errors are found, adjust the file where possible or flag it for the customer. This one step eliminates a disproportionate share of quality complaints.
6. Fabric Shrinkage and Substrate-Specific Defects
Natural fibres behave differently under printing conditions than synthetics. Cotton can shrink when exposed to the heat and moisture involved in fixation. This causes misaligned repeat patterns, distorted designs, and inconsistent output across a roll, even when everything else in the process is correct.
Causes
- Natural fibre fabrics not pre-treated before printing
- Heat settings not adjusted for fabric composition
- Wrong fabric tensioning for the substrate weight
- Ink absorption inconsistency due to uneven pre-treatment application
How to fix it
Pre-wash cotton and other natural fibres before printing to remove shrinkage potential. Build a 3–5% shrink allowance into repeat designs so the pattern stays continuous after fixation. Adjust heat and dwell time settings based on the specific fabric composition; what works for 100% polyester will damage cotton.
Conduct test prints on a swatch before committing to production. This is especially important when introducing a new fabric supplier or a new lot from an existing supplier, as fabric behaviour can vary significantly even within the same specification.
7. Streaky or Faded Prints: Banding and Output Inconsistency
Horizontal banding, faded sections, or inconsistent density across a print are typically symptoms of a printhead or ink supply issue. They are easy to spot and, when caught early, quick to address. Left unmanaged, they erode print quality across the entire production run.
Causes
- Partially clogged nozzles produce inconsistent ink drop size
- Low ink levels cause air entrainment in the ink supply line
- Printhead height is set too high above the fabric surface
- Static electricity in the print room affects the ink drop trajectory
How to fix it
Run a nozzle check pattern at the start of each production session. Any missing or deflected nozzles should be cleaned before printing begins. Monitor ink levels actively running a printhead near-empty risks air ingestion that can take time to fully clear. Calibrate printhead height to manufacturer specifications for each substrate thickness.
For operations running multiple shifts across high-volume output, a proactive maintenance schedule reduces banding incidents dramatically. According to industry data, up to 63% of digital fabric printing errors originate from a lack of consistent, preventive maintenance, not from machine failure.
Quick Pre-Print Checklist: Eliminate Errors Before They Start
The most effective way to manage printing errors and solutions is to prevent them upstream. Before every production run:
- Run a nozzle check and printhead cleaning cycle
- Verify the ICC colour profile is loaded and correct for the substrate
- Confirm source file resolution is 300 DPI or higher at print size
- Check ink levels across all channels
- Confirm fabric is correctly tensioned and aligned on the feed system
- For natural fibres: confirm pre-treatment is complete and evenly applied
- Print a test swatch and approve colour before full production
Conclusion
Digital textile printing errors are not random. They are systematic, which means they are fixable. Ink bleeding traces to substrate mismatch. Colour drift traces to colour profile gaps. Banding traces to maintenance gaps. Once you understand the root cause of each defect category, fixing it becomes a process decision rather than a crisis response.
The printing businesses that scale consistently are not the ones with the most expensive machines. They are the ones with the tightest processes, disciplined pre-flight checks, scheduled maintenance, correct ink-substrate matching, and a culture where quality issues are caught at the source, not at the customer’s warehouse.
Because in digital printing, your reputation is only as strong as your last metre of fabric. Ready to eliminate costly reprints from your operation? Talk to an Orange O Tec specialist about your current production setup and how the right machine-ink combination can reduce your defect rate from day one.